A Step-by-Step Guide to Building with Interlocking Bricks
- toughie
- 9 Oct, 2023
Interlocking bricks have revolutionized the world of construction. They offer a sustainable, cost-effective, and versatile solution for building structures of all sizes. Whether you’re a seasoned builder or a DIY enthusiast, this step-by-step guide will help you harness the power of interlocking bricks for your next project.

- Planning and Design: The first step is to create a detailed plan and design for your project. Consider factors like location, size, and purpose. Interlocking bricks can be used for everything from small garden walls to entire homes.
- Material Selection: Choose high-quality interlocking bricks. Look for bricks that are durable, weather-resistant, and easy to work with. You’ll also need sand, cement, and a level surface.
- Foundation Preparation: Prepare the foundation by clearing the area of debris and ensuring it is level. A stable foundation is crucial for the success of your project.
- Layout and Marking: Use stakes and string lines to mark the layout of your structure. This will serve as a guide for laying the bricks evenly.
- Mixing Mortar: Mix the mortar according to the manufacturer’s instructions. Consistency is key; you want a mortar that is not too runny or too dry.
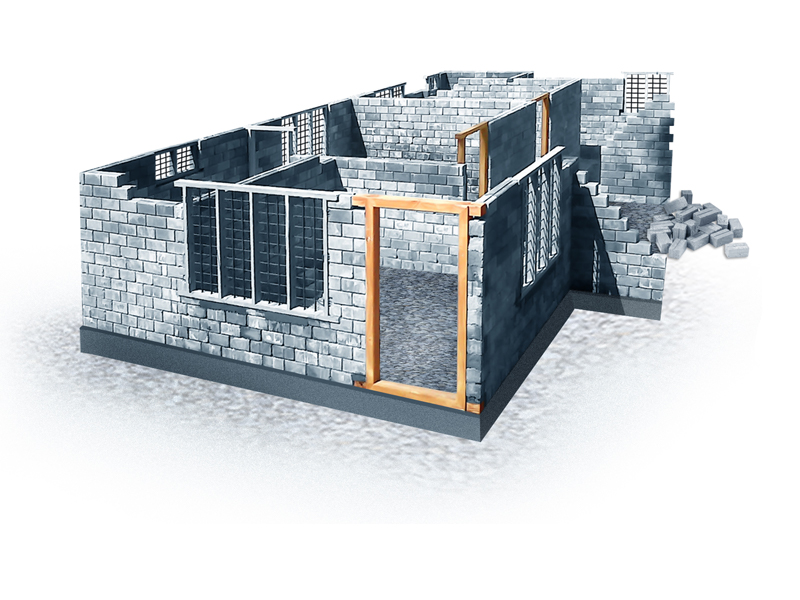
- Begin Laying Bricks: Start at a corner and lay the first brick. Ensure it is level and plumb. The interlocking design of the bricks makes it easy to achieve a tight fit. Use a rubber mallet to tap them into place.
- Add Mortar: Apply mortar to the top of the first row of bricks. Make sure it is evenly spread. Then, place the next row of bricks, offsetting the joints for stability.
- Repeat and Compact: Continue adding rows of bricks, periodically using a level to check for straightness. As you go, tap each brick with the mallet to ensure a snug fit.
- Cutting Bricks: When you reach the end of a row or need to fit bricks around corners or obstacles, use a saw or chisel to cut them to the desired size and shape.
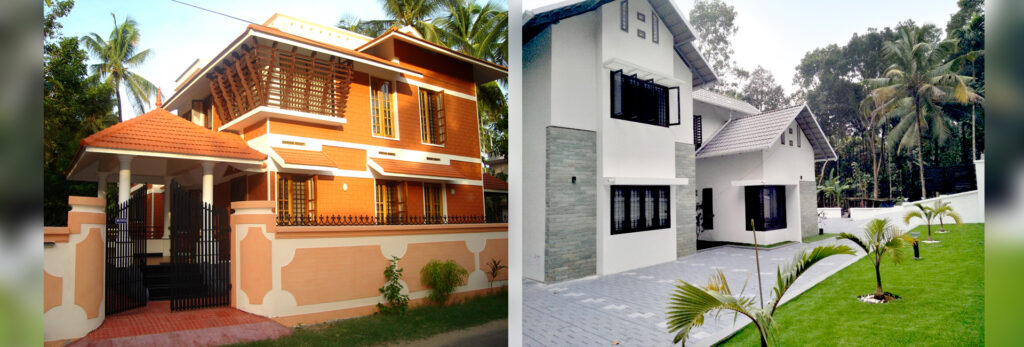
- Curing and Finishing: Allow the mortar to cure for the recommended time. Once it’s set, you can finish the surface with paint or a sealant if desired.
- Maintenance: Interlocking brick structures are low-maintenance, but it’s essential to inspect them periodically for any repairs or adjustments needed.
Building with interlocking bricks is a rewarding and sustainable construction method. By following this step-by-step guide, you’ll be well on your way to creating a durable and beautiful structure that will stand the test of time. Whether you’re tackling a garden wall or a full-scale building project, interlocking bricks offer a straightforward and efficient solution for builders of all skill levels.